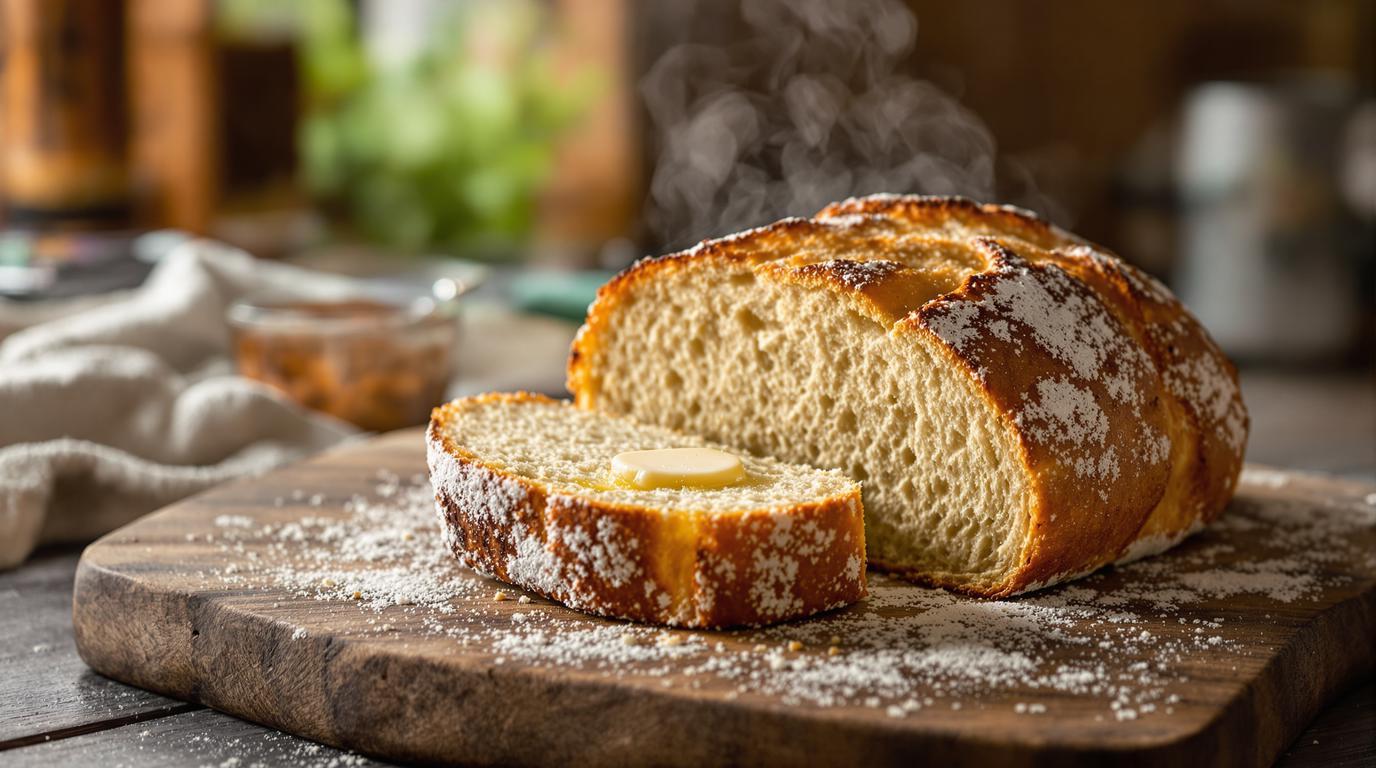
The aroma of freshly baked bread wafting through my grandmother’s kitchen is one of my earliest and most cherished memories. She taught me that bread isn’t just food—it’s an expression of love that transcends generations. While traditional yeast breads typically require patience, I’ve adapted her classic recipe to fit our modern, time-pressed lives without sacrificing that handcrafted quality. This streamlined approach still honors the centuries-old techniques that make homemade bread so special, proving that even with shortcuts, some things are worth the wait. 🍞
The Story Behind Grandmother’s Classic Bread 📖
Bread-making traditions vary beautifully across cultures, yet they share common threads of simplicity and care. My grandmother’s recipe originated from northern European techniques, where bakers used basic ingredients to create hearty loaves that sustained families through harsh winters. What makes this recipe special isn’t fancy ingredients but rather the technique—the particular way of kneading that develops just enough gluten without overworking the dough, and the patience to let nature do its magic during rising. Though I’ve adapted it for today’s kitchens, the soul of this recipe remains unchanged from how it was prepared centuries ago. ✨
Essential Ingredients 🧾
For two beautiful loaves, you’ll need:
- 2½ cups (600ml) warm water (105-115°F/40-46°C)
- ¼ cup granulated sugar
- 1 tablespoon active dry yeast
- 1¼ teaspoons salt
- 5 cups (625g) all-purpose flour, plus extra for dusting
- 2 tablespoons olive oil (or melted butter for a richer flavor)
This dough creates a versatile base that pairs wonderfully with hearty winter stews or transforms into the perfect vehicle for Swiss grandma’s traditional fondue. For a Mediterranean twist, try drizzling the finished bread with olive oil and serving alongside Nonna’s 30-minute tomato sauce. 🌿
Step-by-Step Instructions 📝
1. Activate your yeast: In a large bowl, combine warm water and sugar, then sprinkle yeast over the top. Let sit for 5-10 minutes until foamy and active. This proofing step is critical—if your yeast doesn’t bubble, it’s not alive and your bread won’t rise properly.
2. Form your dough: Add salt and 4 cups of flour, one cup at a time, mixing thoroughly between additions. Add the remaining flour gradually until the dough pulls away from the sides of the bowl.
3. Develop structure: Turn dough onto a floured surface and knead for 8-10 minutes until smooth and elastic. The dough should spring back when gently pressed with your fingertip.
4. First rise: Lightly oil a clean bowl, place the dough inside, and turn once to coat. Cover with a damp cloth and let rise in a warm spot for 45-60 minutes, or until doubled in size.
5. Shape your loaves: Punch down the dough gently to release air bubbles. Divide in half and shape each portion into a loaf. Place in greased 9×5-inch loaf pans.
6. Second rise: Cover and let rise again for 30-45 minutes until the dough crests above the pan edges.
7. Bake to perfection: Preheat oven to 350°F (175°C) and bake for 30-35 minutes until golden brown and hollow-sounding when tapped on the bottom.
8. Cool with patience: Allow to cool for at least 10 minutes before slicing to prevent the crumb from becoming gummy. 🔪
Chef’s Note: For a truly artisanal touch, lightly brush the tops with water and sprinkle with oats or seeds before baking. This not only adds texture but creates that beautiful bakery-style finish that makes homemade bread so impressive. The seeds toast while baking, releasing aromatic oils that enhance the overall sensory experience.
Chef’s Secret Techniques 🤫
The window pane test is my foolproof way to know when dough is properly kneaded—stretch a small piece between your fingers until it’s thin enough to see light through without tearing. For time-conscious bakers, use rapid-rise yeast (reduce to ½ tablespoon) and place your dough near a preheated oven to speed up rising times. While purists might insist on long, slow fermentation, I’ve found that a well-executed quick method still produces exceptional results that would make my grandmother proud. 🕰️
When working this dough, resist the temptation to add too much flour. A slightly sticky dough yields a lighter, more tender crumb. This approach works brilliantly when making simple Italian-style flatbreads as well, where that tender quality is essential for the perfect fold.
Serving & Presentation Tips 🍽️
Serve this bread while still slightly warm, with a side of cultured butter and flaky sea salt for an unforgettable experience. For a complete meal, pair it with Italian grandmother-approved tomato recipes or transform leftovers into the base for 10-minute skillet meals the next day. 🍅
Remember, bread-making isn’t just about following steps—it’s about connecting with something deeply human. Your hands are creating something people have made for thousands of years, using techniques passed through generations. Even with our modern shortcuts, when you pull these golden loaves from your oven, you’re participating in one of humanity’s oldest and most beautiful traditions. Trust your instincts, embrace the process, and soon you’ll develop the baker’s intuition that no recipe can fully capture. 💕
