As we approach the spring season of 2025, many of us are looking to refresh our look and give our nails a break from winter’s heavy acrylics. But removing those stubborn artificial nails can be daunting. Fear not! I’m here to guide you through the process of safely removing acrylic nails at home, ensuring your natural nails emerge healthy and ready for a fresh start.
The Essential Tools for Your At-Home Nail Spa
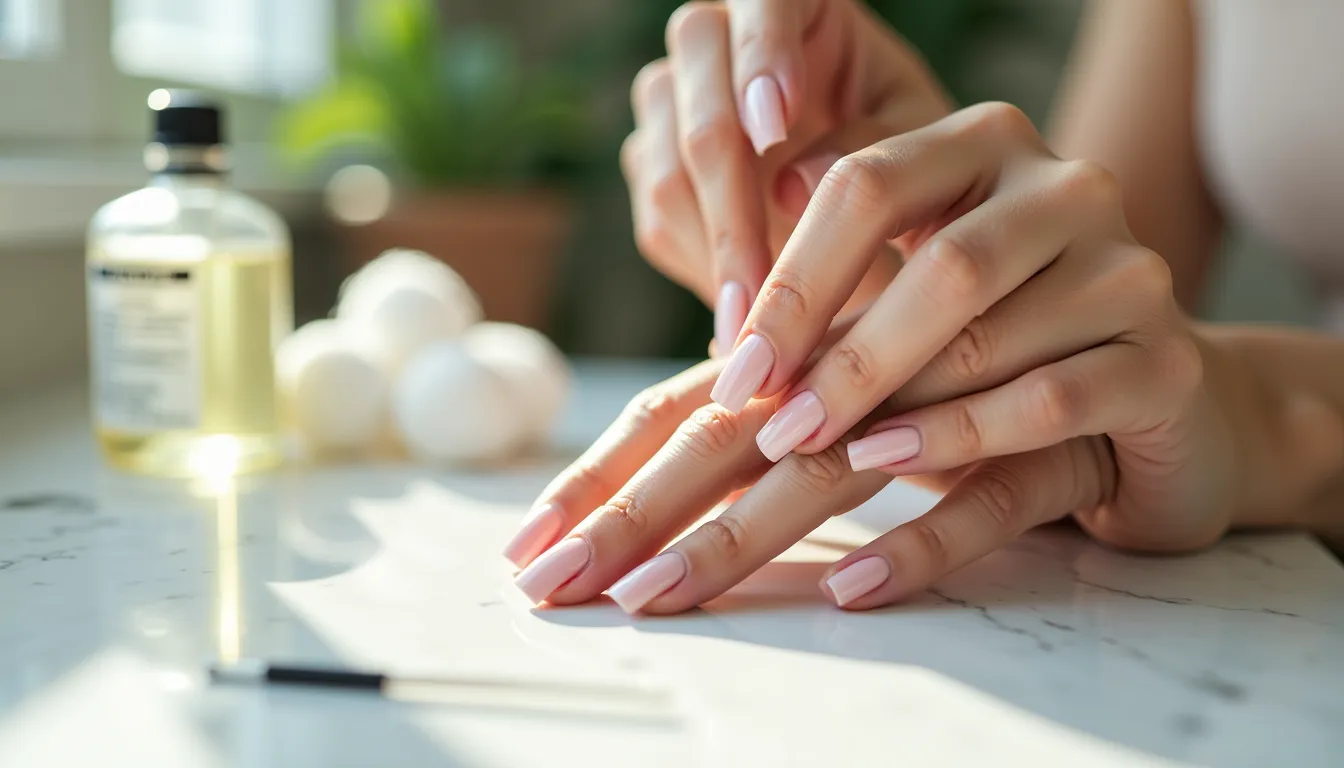
Before we dive in, let’s gather our supplies. You’ll need 100% pure acetone, cotton balls, aluminum foil, a nail file, petroleum jelly or cuticle oil, and an orange stick or cuticle pusher. These tools are your ticket to acrylic-free nails without a costly salon visit.
Prepping Your Nails: The First Step to Freedom
Start by trimming your acrylic nails as short as possible. “This initial step is crucial,” says Dr. Sarah Thompson, a dermatologist specializing in nail health. “It reduces the amount of acrylic you’ll need to dissolve, making the whole process quicker and gentler on your natural nails.”
The Acetone Soak: Your Secret Weapon
Now for the main event. Soak cotton balls in acetone and place them on your nails, securing each with a small piece of aluminum foil. This creates a mini acetone bath for each nail. Let them sit for about 20 minutes. Pro tip: Gently warm the acetone by running the bottle under warm water before use to enhance its effectiveness.
Gentle Removal: Patience is Key
After soaking, gently push off the softened acrylic with your orange stick. If you encounter resistance, don’t force it! Simply re-wrap and soak for another 5-10 minutes. Remember, your natural nails are delicate, so treat them with care.
Post-Removal Care: Nourish and Protect
Once your acrylics are off, it’s time to show your natural nails some love. Here’s a quick care routine:
- Gently buff your nails to smooth any rough spots
- Apply cuticle oil generously
- Use a nourishing hand cream
- Consider a nail strengthening treatment
The Acetone-Free Alternative: A Gentler Approach
For those with sensitive skin or who prefer to avoid acetone, there’s another way. “Using a fine-grit nail file or a professional nail drill can gently wear down the acrylic,” explains nail technician Lisa Chen. “It’s a slower process but can be less harsh on your nails and surrounding skin.”
Embracing Natural Nail Health
After removing your acrylics, you might notice your natural nails are a bit weak. This is normal! Take this opportunity to strengthen your nails naturally. A diet rich in biotin and regular use of nail oils can work wonders.
Spring-Ready Nails: Embracing New Trends
With your natural nails restored, why not explore some fresh looks for spring? Discover nail colors that can make your hands look years younger, or try out flattering nail shapes that complement mature hands.
A Word of Caution: When to Seek Professional Help
If you experience any pain, excessive redness, or notice any signs of infection during or after removal, don’t hesitate to consult a professional. Your nail health is worth the extra care!
Are you ready to embrace healthier, natural nails this spring? Remember, the journey to beautiful nails doesn’t end with removal. Nourish them daily, and you’ll be amazed at how strong and vibrant they can become. Your hands tell your story – make it a tale of self-care and radiant health!