There’s something magical about the rhythmic motion of rolling sushi that takes me back to my grandmother’s kitchen in Kyoto. As a child, I’d stand on a footstool beside her, watching in awe as her hands deftly shaped rice and fillings into perfect cylindrical treasures. Traditional grandmother-style sushi isn’t just food—it’s an expression of love, patience, and tradition that spans generations. Today, I’m sharing my family’s cherished recipe that beautifully balances two classic styles: Nori Maki (rolled sushi) and Inari (tofu pouch sushi). 🍣
The Soul of Grandmother’s Sushi 📖
What makes grandmother-style sushi special is its focus on simplicity and balance. Unlike restaurant sushi with its emphasis on raw fish, home-style maki celebrates humble ingredients transformed through careful preparation. My Japanese grandmother would always say, “Good sushi begins with properly seasoned rice,” a lesson I’ve carried throughout my professional career. The vinegar-seasoned rice creates the foundation, while fillings like home-cooked tamagoyaki (Japanese omelet) and kampyo (dried gourd) provide layers of texture and flavor that commercial sushi often lacks.
Essential Ingredients 🧾
For Sushi Rice (Makes about 5 cups):
• 2½ cups short-grain Japanese rice (500g)
• 2¾ cups water (650ml)
• ¼ cup rice vinegar (60ml)
• 3 tablespoons sugar (45g)
• 1½ teaspoons salt (7g)
For Traditional Fillings:
• 5 sheets nori seaweed
• 1 can tuna, drained (5oz/140g)
• 2 tablespoons soy sauce (30ml)
• 2 tablespoons sugar (30g)
• 4 eggs (for tamagoyaki)
• ½ teaspoon sugar
• ¼ teaspoon salt
• 2 tablespoons milk
• ½ cucumber, seeded and cut into strips
• 1 carrot, julienned and blanched
• Takuan (pickled daikon), thinly sliced
Chef’s Note: For an authentic touch, consider adding kampyo (dried gourd strips). If unavailable, substitute with extra carrot or cucumber. The traditional recipe includes a pinch of MSG (Ajinomoto), but I find that an extra ¼ teaspoon of salt achieves a similar flavor-enhancing effect.
The Art of Perfect Sushi Rice 🍚
The foundation of grandmother’s sushi is properly seasoned rice. This technique took me years to master in professional kitchens, but I’ve simplified it for home cooks:
- Rinse rice thoroughly until water runs clear (usually 4-5 times).
- Cook rice according to package directions or use a rice cooker.
- While rice cooks, combine vinegar, sugar, and salt in a small saucepan. Heat gently until sugar dissolves (don’t boil). Cool slightly.
- Transfer hot rice to a large wooden bowl (hangiri) or wide non-metallic container.
- Pour seasoning mixture over rice and mix using a cutting motion with a wooden rice paddle, while fanning to cool it down.
- Cover with a damp cloth until completely cooled but don’t refrigerate.
Crafting Traditional Fillings 🥕
The fillings are where grandmother’s sushi truly shines. Each component requires its own preparation:
Tuna Filling:
1. Combine drained tuna with soy sauce and sugar in a small pan.
2. Cook over medium heat, stirring frequently, until almost dry (about 7-8 minutes).
3. Allow to cool completely.
Tamagoyaki (Japanese Omelet):
1. Beat eggs with sugar, salt, and milk until well combined.
2. Heat a rectangular tamagoyaki pan or regular small non-stick pan with a bit of oil.
3. Pour a thin layer of egg mixture and cook until almost set.
4. Roll the egg toward you to form a log shape.
5. Add more oil, pour another layer of egg, and repeat the rolling process.
6. Continue until all egg mixture is used.
7. Cool completely before cutting into strips.
Rolling Sushi: Grandmother’s Technique 🤲
Now comes the most rewarding part—bringing everything together:
- Place a bamboo sushi mat (makisu) on a clean work surface with slats running horizontally.
- Place a sheet of nori shiny-side down on the mat.
- With wet fingers (keep a bowl of water with a splash of vinegar nearby), spread about ¾ cup of rice evenly on the nori, leaving a 1-inch border at the top edge.
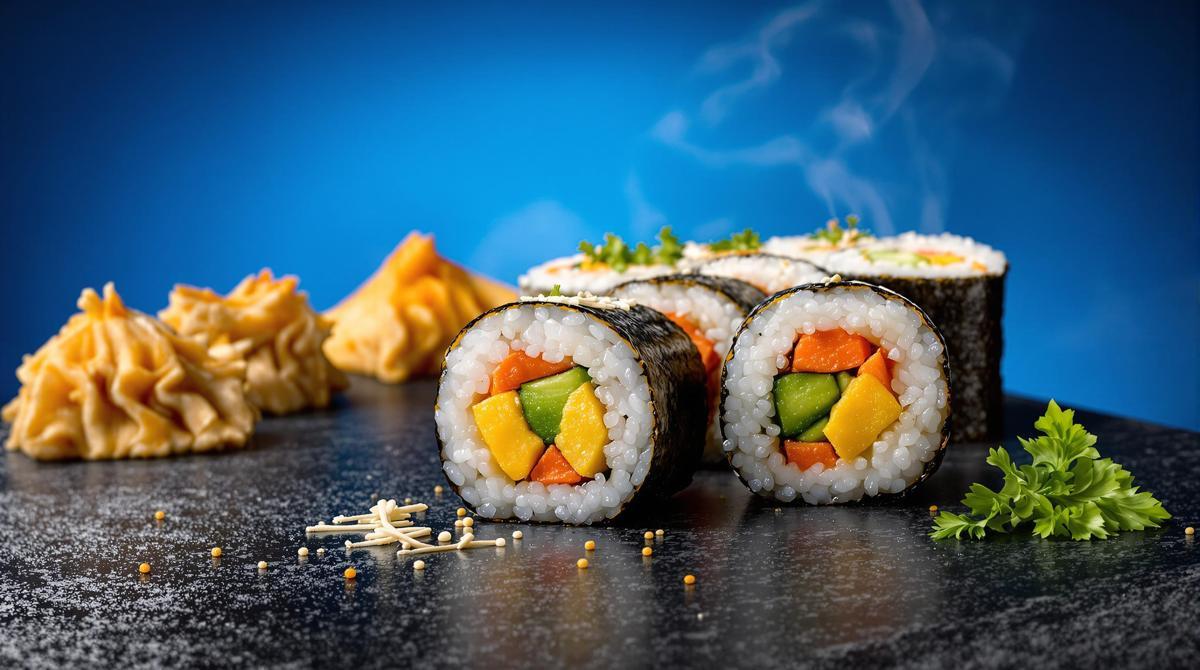
- Arrange your prepared fillings in a line across the center of the rice—I typically layer tamagoyaki, tuna, cucumber, carrot and takuan.
- Lift the edge of the mat closest to you and fold it over the fillings, using your fingers to keep everything in place.
- Apply gentle pressure while continuing to roll forward, using the mat to shape the roll into a uniform cylinder.
- Seal the edge with a few grains of rice if needed.
- Transfer to a cutting board and let rest for 2 minutes before cutting.
To cut perfect slices, wet a sharp knife between each cut and use a gentle sawing motion. Wipe the blade clean between slices for the cleanest presentation.
Serving Your Homemade Sushi 🍽️
Arrange your beautiful rolls on a wooden serving platter or individual plates. Traditional accompaniments include pickled ginger, wasabi, and a small dish of soy sauce. For an elevated experience, you might also serve a light crispy cloud meringue pavlova for dessert—the light sweetness provides a wonderful contrast to the savory sushi.
For a complete meal, consider adding a warming bowl of grandmother’s Japanese curry as a side dish. The richness of the curry beautifully complements the clean flavors of the sushi. Alternatively, an alpine potato gratin makes for an unexpected but delightful fusion pairing.
I’ve found that the best beverage pairing is a high-quality green tea, served in small cups. If you prefer something stronger, a crisp, dry sake served slightly chilled complements the delicate flavors without overwhelming them. For wine lovers, a light alpine white wine similar to what you might serve with fondue works surprisingly well.
Remember, grandmother-style sushi isn’t about perfection—it’s about connection. Each roll tells a story of tradition passed down through generations. The most important ingredient is patience, followed closely by love. Much like southern grandmother’s buttermilk chicken, the magic happens when you take your time and enjoy the process. Your family will taste the difference. 💕