There’s something almost magical about making butter from scratch. When I was barely tall enough to reach the counter, my grandmother would pull out her weathered wooden butter churn, fill it with fresh cream, and let me take turns cranking the handle. Hours later, that liquid gold would transform into the most luxurious, flavorful butter I’d ever tasted. Today, we don’t need to spend hours churning—but we can still capture that same incredible flavor with some simple techniques that have been passed down through generations.
The Golden Legacy of Homemade Butter
Long before supermarket dairy aisles existed, butter-making was an essential household skill. From nomadic tribes carrying skin pouches of cream that naturally churned during travel to colonial homesteaders using wooden paddles, the techniques evolved but the essence remained the same: transform cream into something greater than itself.
What always surprises first-time butter makers is how dramatically different homemade butter tastes from commercial varieties. The depth of flavor, the creamy mouthfeel, and that subtle sweetness can’t be matched by mass-produced options—and making it yourself costs a fraction of those fancy European imports.
The Perfect Cream Foundation
Your butter is only as good as the cream you start with. Here’s what you’ll need:
- 2 pints (4 cups/950ml) heavy whipping cream (36%+ fat content, preferably raw or minimally processed)
- 2 tablespoons sour cream or yogurt (optional, for tanginess)
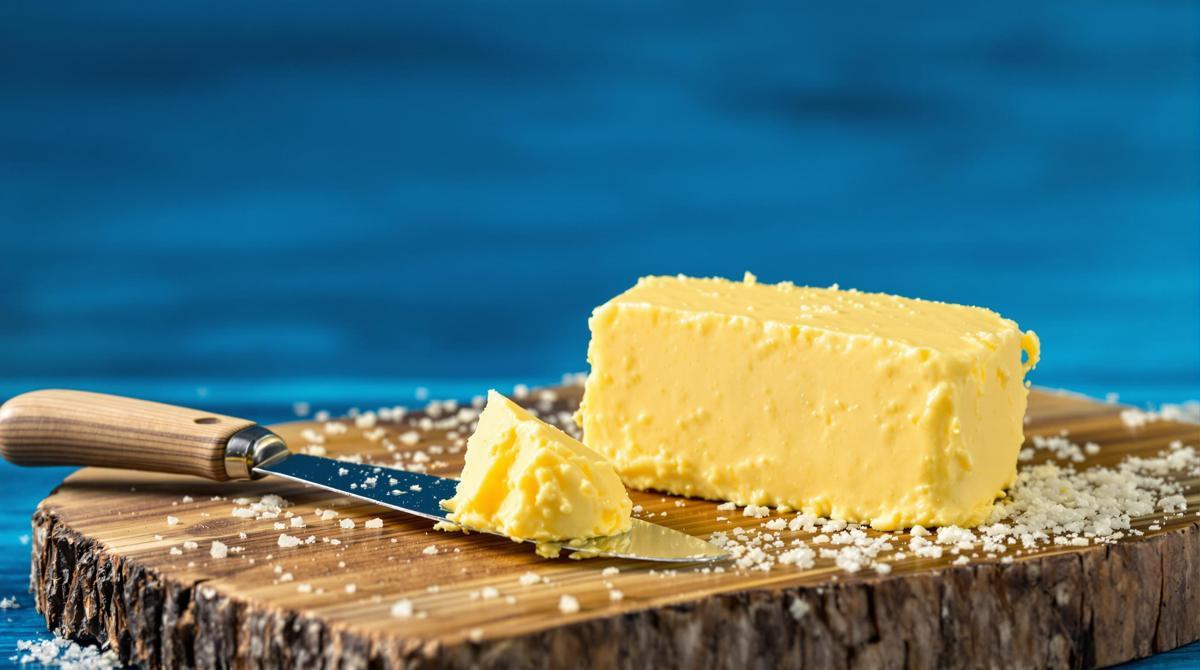
- Fine sea salt, to taste (I recommend Fleur de Sel for a clean finish)
The quality of your cream matters tremendously. In my restaurant days, we sourced cream directly from local dairies that used traditional grazing practices. The beta-carotene from grass-fed cows gives butter that natural golden hue that artificial colorings try to mimic. If you can find raw cream from a trusted source, the flavor will be exceptional—but good-quality pasteurized heavy cream works beautifully too.
Transforming Liquid to Gold: Step-by-Step
- Prepare your cream: Allow cream to sit at room temperature for 1-2 hours. Cold cream takes forever to churn, while room-temperature cream transforms like magic.
- Choose your churning method:
- Stand mixer: Using the paddle attachment at medium speed, beat until cream separates (10-15 minutes).
- Hand mixer: Beat on medium-high, watching carefully for separation (12-18 minutes).
- Mason jar: Fill halfway with cream, seal tightly, and shake vigorously until butter forms (20-30 minutes). Perfect for involving children!
- Recognize the stages: First, you’ll see whipped cream, then stiff peaks, then suddenly it will break and separate into butter solids and buttermilk.
- Strain the butter: Pour the mixture through a fine-mesh sieve, reserving the buttermilk for delicious baking projects.
- Wash thoroughly: Place butter in a bowl of ice water and gently knead to remove remaining buttermilk. Change the water several times until it runs clear. This crucial step prevents spoilage and extends shelf life.
- Season and shape: Work in salt to taste (I recommend starting with ¼ teaspoon per cup of butter), then shape into a log or press into a mold.
Chef’s Note: The washing step is non-negotiable! Unwashed butter will spoil quickly. During my apprenticeship in France, the chef made me wash twenty batches over when I rushed this step. The buttermilk left behind will sour the butter within days, while properly washed butter can last weeks.
Elevating Your Butter Craft
For a burst of flavor inspired by North African cuisine, try compound butter variations. After washing, incorporate minced herbs, garlic, honey, or even the caramelized tomato paste that transforms ordinary dishes into extraordinary ones.
In some traditions, like the Cajun cooking I studied in Louisiana, butter is central to building flavor. There’s even historical precedent for adding a touch of carrot juice or turmeric for golden winter butter—a trick Laura Ingalls Wilder’s mother used when cream was pale in winter months.
Spread your creation on warm bread, melt it over seasonal vegetables, or use it to elevate a batch of homemade peanut butter cookies to new heights. The difference is immediately apparent—a depth and complexity that no store-bought variety can match.
Remember, making butter isn’t just about the end result; it’s about connecting with a tradition that stretches back through countless generations of home cooks. There’s something profoundly satisfying about transforming a simple ingredient into something extraordinary—just as my grandmother taught me all those years ago.