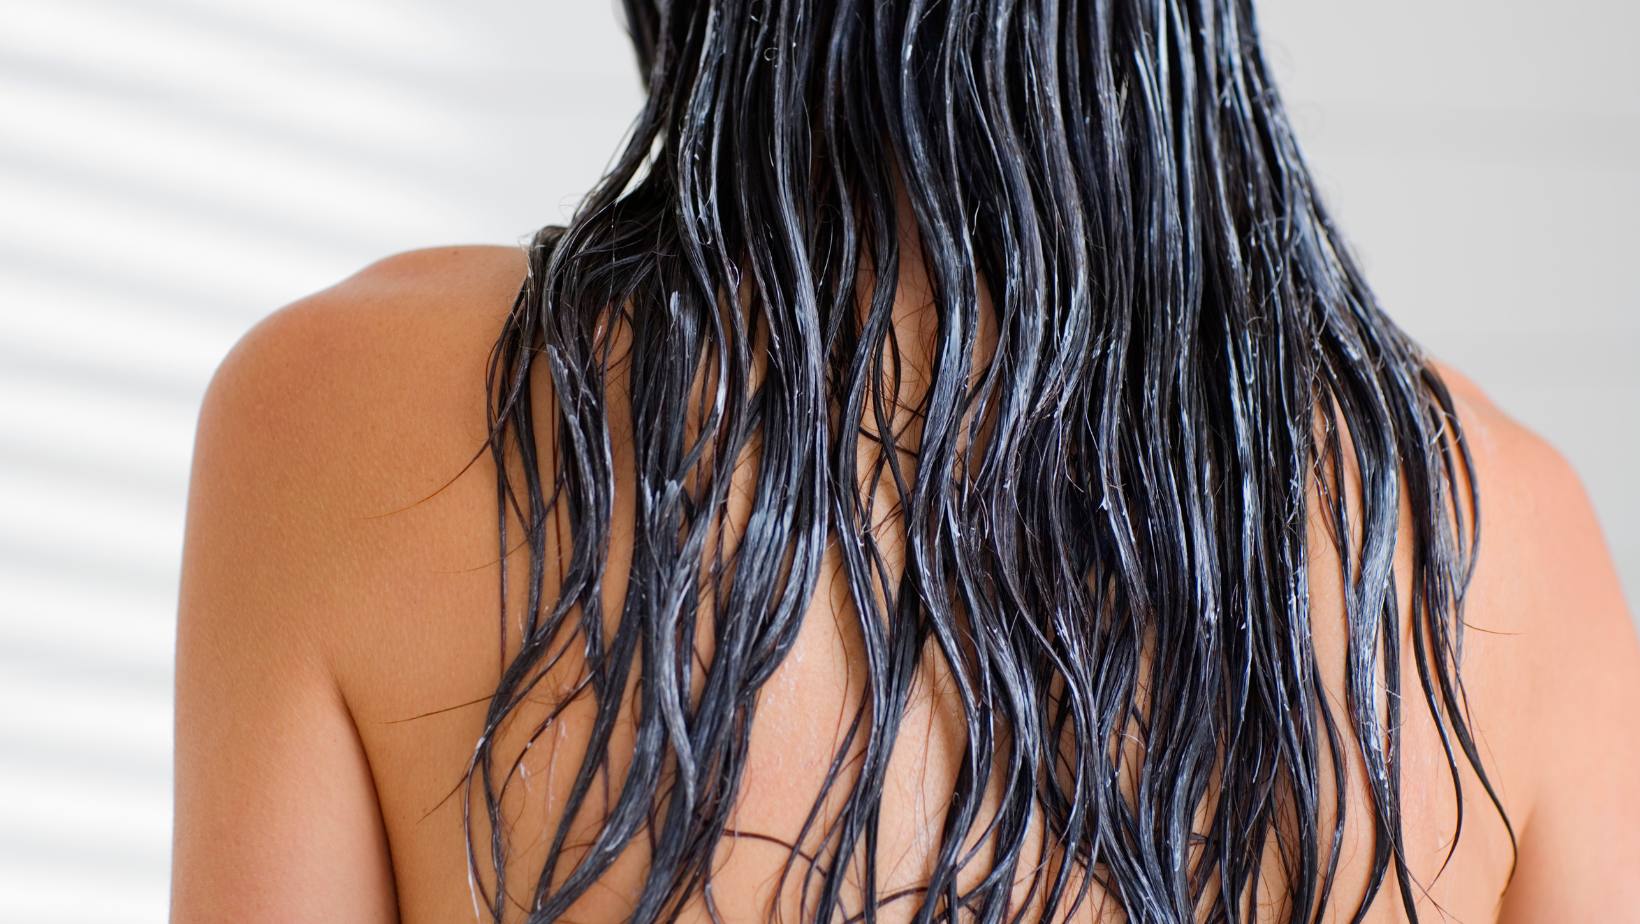
If you’re battling frizzy, dull, or unmanageable hair, you’ve probably considered a keratin treatment. This popular salon service promises to deliver smooth, shiny, straight locks that last for months. But there’s a catch: most professional keratin treatments are loaded with harsh chemicals that can damage your hair over time. As a health-conscious beauty enthusiast, I wanted to find a natural alternative – and that’s when I discovered this game-changing DIY keratin treatment from Dr. Vivek Vijayvergiya.
The Power of Phytokeratin: Nature’s Secret to Gorgeous Hair
Dr. Vivek’s homemade keratin treatment harnesses the power of phytokeratin, or plant-based keratin. While our hair is made up of keratin protein, we don’t need to rely on chemical treatments to replenish it. Certain foods, like the humble okra (or lady finger), are packed with natural keratin that can nourish and strengthen our strands from the outside in.
In addition to okra, this DIY treatment features a few other hair-loving ingredients:
- Rice flour, which helps to regenerate and fortify hair
- Nourishing oils like coconut, jojoba, or almond to moisturize and protect
- Aloe vera gel to soothe the scalp and add shine
The result? A 100% natural, customizable hair mask that delivers salon-worthy results without the scary side effects.
How to Make Your Own Keratin Treatment at Home
Ready to give your hair the royal treatment? Here’s how to whip up Dr. Vivek’s all-natural keratin mask:
Ingredients:
- 5 okra pods (lady finger)
- 1 tablespoon rice flour (or cornstarch)
- 1/4 cup water
- 1-2 tablespoons hair oil of choice
Instructions:
- Wash and chop the okra into small pieces. Boil in 1 cup of water for 10 minutes, until soft and slimy. Let cool.
- Blend the boiled okra until smooth. Strain through a cloth to remove any pulp or seeds.
- In a separate bowl, mix the rice flour and 1/4 cup water until smooth.
- Heat the okra puree in a saucepan over low heat. Slowly stir in the rice flour mixture. Keep stirring until well combined.
- Remove from heat and let cool until warm. Strain again through a cloth to ensure a smooth consistency.
- Stir in 1-2 tablespoons of your favorite hair oil. Use less for oily hair, more for dry or damaged hair.
Applying Your Homemade Keratin Mask
Now for the fun part – giving yourself a spa-worthy hair treatment in the comfort of your own bathroom! Here’s how:
- Start with damp, towel-dried hair. If your hair is very dirty or oily, you can shampoo first.
- Section your hair and apply the keratin mask from roots to tips, focusing on the mid-lengths and ends. Massage into the scalp as well.
- Comb through to ensure even distribution. Pile hair on top of your head (if long enough) or cover with a shower cap.
- Let the mask sit for 1-2 hours. Use this time to relax, meditate, or tackle your to-do list!
- Rinse hair thoroughly with water (no shampoo needed). Style as usual, and marvel at your soft, shiny, frizz-free locks!
The Bottom Line: Healthy Hair Starts from Within
While this DIY keratin mask can absolutely boost the appearance and texture of your hair, it’s important to remember that true hair health starts from the inside out. No external treatment – natural or chemical – can make up for nutrient deficiencies, hormonal imbalances, or high stress levels that may be contributing to hair issues like thinning, shedding, or brittleness.
As Dr. Vivek wisely notes, the key to strong, resilient hair is a combination of a nutrient-dense diet, proper supplementation (think vitamin D, iron, and biotin), stress management, and gentle hair care practices. By nourishing your body and reducing your toxic load, you create the optimal conditions for healthy hair to thrive.
That said, there’s no denying the power of a good hair mask to instantly elevate your mood and your ‘do. So go ahead and treat yourself to this all-natural keratin boost – your hair (and your inner goddess) will thank you!
