There’s something deeply nostalgic about making vinegar the way our grandparents did—slowly, patiently, with nothing but time and nature working their magic. Growing up, my grandmother had a perpetual crock of fermenting apple scraps in her cellar, a living connection to generations past. When I became a professional chef, I was amazed to find that this humble preservation method produced vinegar with complexity that store-bought versions simply couldn’t match. The transformation of ordinary apples into liquid gold is nothing short of alchemy—and it’s surprisingly simple to create in your own kitchen.
The Ancient Art of Vinegar-Making 🍎
Long before refrigeration, our ancestors discovered that fruit scraps could transform into something magical—a tart, tangy elixir that preserved foods and elevated simple dishes. This transformation happens through two distinct fermentation stages: first, yeasts convert sugars to alcohol, then acetobacter bacteria transform that alcohol into acetic acid. What makes homemade vinegar special is the “mother”—that cloudy, gelatinous colony of beneficial bacteria that forms naturally during fermentation.
Essential Ingredients & Equipment 🧰
For approximately 1 gallon (4 liters) of vinegar:
- 1-1.5 pounds (450-680g) apple scraps, cores or chopped whole apples
- 1 cup (200g) granulated sugar
- 1 gallon (4 liters) filtered, room-temperature water
- 1-2 tablespoons raw, unpasteurized apple cider vinegar with “mother” (optional, but helpful)
- Large glass jar or crock (avoid metal and plastic)
- Breathable cover (coffee filter, cheesecloth, or tight-weave cloth)
- Rubber band or string
The Grandmother Method 👵
Follow these traditional steps for authentic, flavorful vinegar:
- Prepare your vessel: Thoroughly clean your jar with hot, soapy water and rinse completely. Unlike fermentation requiring sterilization, vinegar-making just needs clean equipment.
- Prepare fruit: Wash apples well if using whole fruit. For best flavor, use a mix of sweet varieties (like Gala or Fuji) and tart ones (like Granny Smith). Chop into roughly 1-inch pieces.
- Create sugar solution: Dissolve sugar completely in room-temperature water. The sugar feeds the microorganisms that create your vinegar.
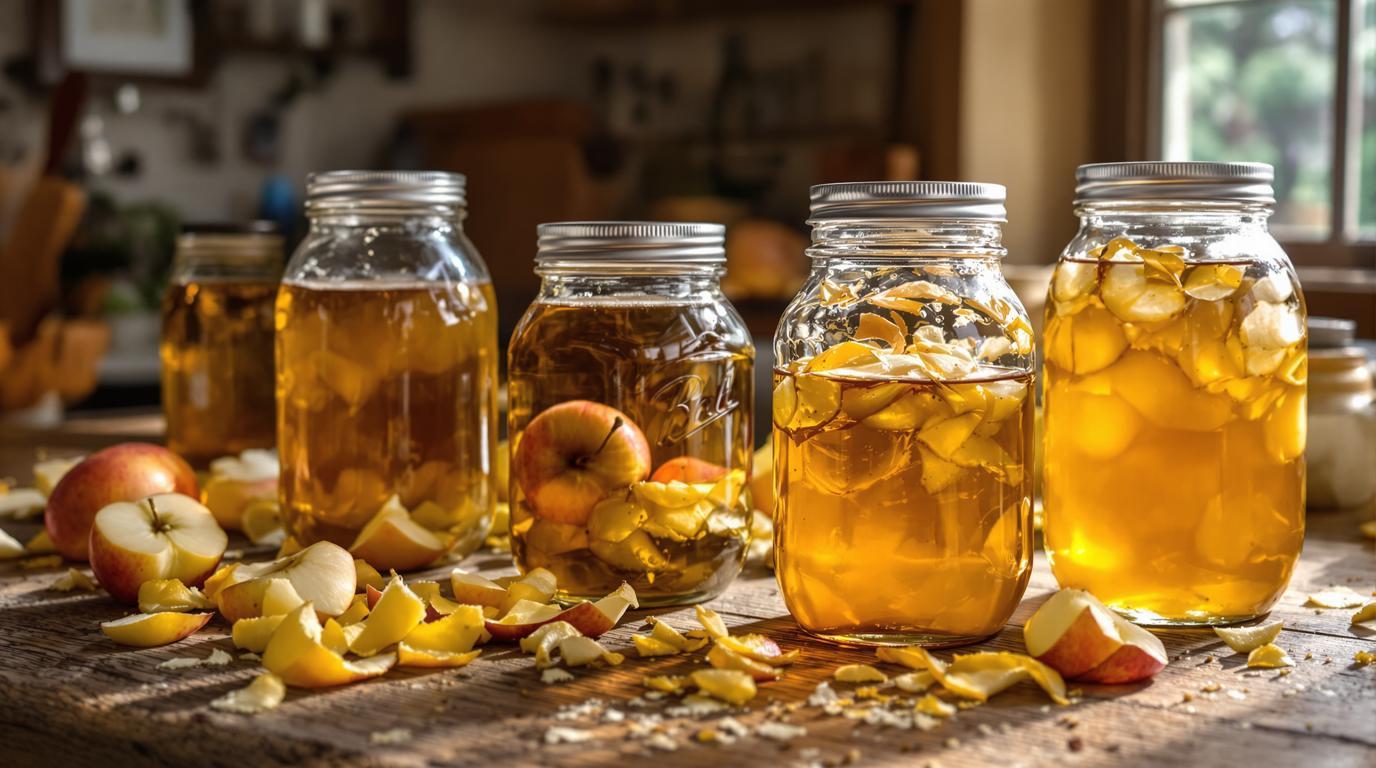
- Fill your vessel: Place apple pieces in your jar, filling it about 3/4 full without packing too tightly. Pour the sugar-water solution over the apples, leaving about an inch of headspace.
- Add starter (optional): If using, add unpasteurized apple cider vinegar with “mother” to jumpstart fermentation.
- Cover: Place breathable material over the jar opening and secure with a rubber band. This keeps fruit flies out while allowing oxygen in—critical for acetobacter to work its magic.
- Primary fermentation: Place in a warm spot (65-75°F/18-24°C) away from direct sunlight. Stir gently every few days for the first week to prevent mold. You’ll notice bubbling as yeasts create alcohol—this stage lasts 6-8 weeks.
- Strain: Once bubbling has subsided, strain out solids and transfer the liquid to a clean jar.
- Secondary fermentation: Cover again with breathable material and let sit undisturbed for at least 6 more weeks. During this time, acetobacter converts alcohol to acetic acid, and your vinegar will develop its characteristic tang.
- Taste test: After 6 weeks, your vinegar should be pleasantly tangy. If it’s too mild, let it age longer.
- Bottle: When vinegar reaches desired acidity, transfer to clean bottles for long-term storage.
Chef’s Note: If you see a gelatinous disk forming on the surface during secondary fermentation—congratulations! That’s your “mother” developing. Save this for your next batch to speed up the process. The mother is completely natural and full of beneficial bacteria.
Infusion Variations & Serving Suggestions 🌿
Once you’ve mastered basic vinegar, try infusing it with herbs or fruits for specialty versions. Simply add ingredients like rosemary, thyme, garlic, or berries to the finished vinegar and let steep for 1-2 weeks before straining.
This grandmother-style vinegar shines in homemade mayonnaise or drizzled over crispy roast potatoes. It’s perfect for brightening up soups (similar to how Nonna’s tomato sauce benefits from a touch of acidity) or creating vibrant salad dressings. For a complete breakfast experience, serve a salad dressed with your homemade vinaigrette alongside silky soft-boiled eggs or traditional Scottish porridge.
Making vinegar connects us to ancestral wisdom that’s nearly been lost in our fast-paced world. There’s something deeply satisfying about transforming simple ingredients into something extraordinary with nothing but patience. When you drizzle that first batch of homemade vinegar over a fresh garden salad, you’ll understand why generations of home cooks before us treasured this craft. Your kitchen has now become part of an unbroken culinary tradition spanning centuries.