There’s something magical about a perfectly baked potato. Growing up in my grandmother’s farmhouse kitchen, I learned that the simplest foods often carry the most profound memories. She’d select each russet potato with careful attention, teaching me that the ones with slightly rough skin would crisp up beautifully. “The secret’s in the salt,” she’d whisper as her weathered hands massaged coarse crystals into the potato skins. After years in professional kitchens across Europe and America, I’ve discovered she was absolutely right – those humble techniques create a potato that’s gloriously fluffy inside with a satisfyingly crunchy exterior. 🥔✨
The Perfect Russet Baked Potato
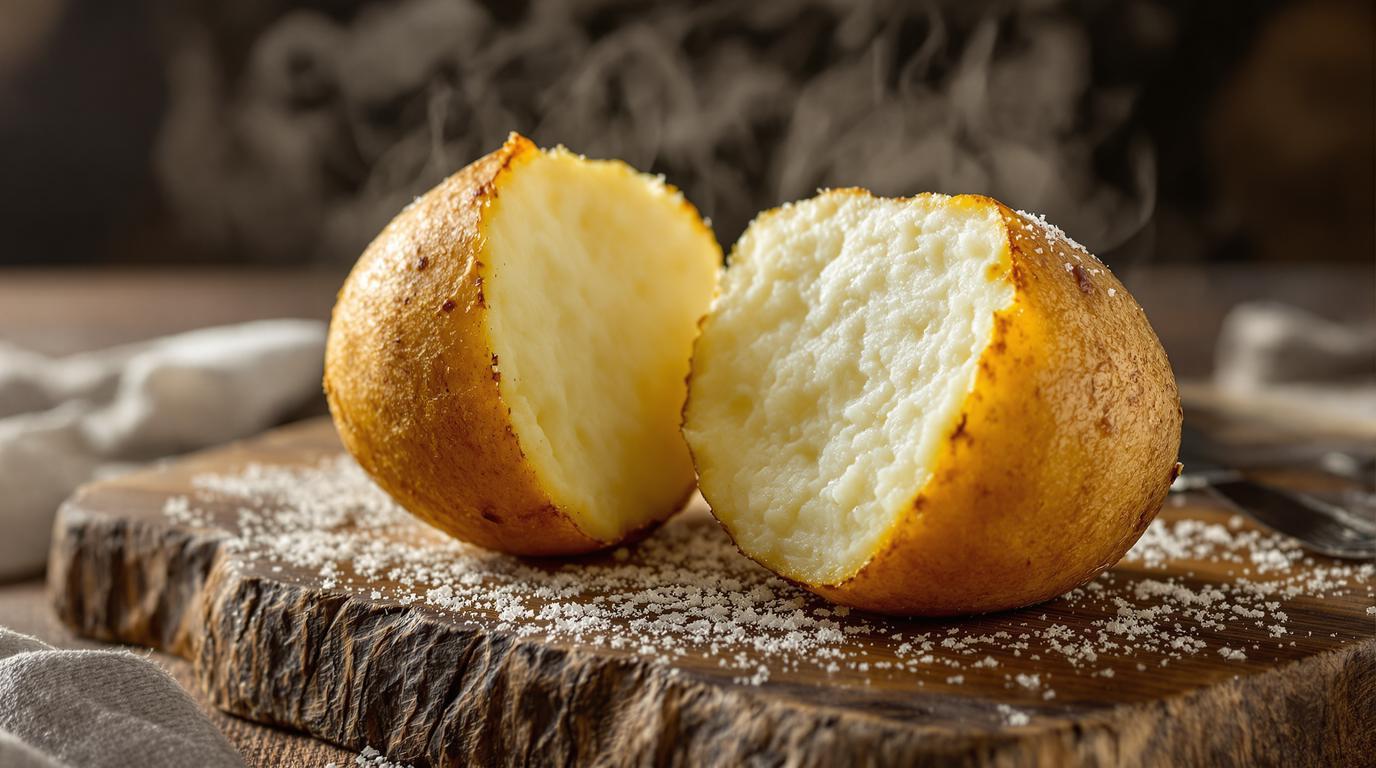
The ideal baked potato isn’t just cooked through – it’s transformed. The interior becomes a cloud-like haven of fluffiness while the skin develops a salty, crackly crust that provides the perfect textural contrast. Achieving this balance isn’t complicated, but it does require attention to a few crucial details that many home cooks overlook.
In my twenty years as a chef, I’ve learned that professional kitchen techniques can be simplified for home cooks without sacrificing quality. This method combines my grandmother’s intuition with culinary school precision. The result? A baked potato worthy of being the star of your meal, not just a humble side dish. 🌟
Essential Ingredients
• 4 medium russet potatoes (8-10 oz each / 225-280g each)
• 2-3 tablespoons olive oil or unsalted butter
• 1-2 teaspoons kosher or sea salt
• Optional: freshly ground black pepper, garlic powder, dried herbs
The Perfect Bake Method
- Prepare your potatoes: Preheat your oven to 400°F (200°C). Thoroughly scrub each potato under cold running water using a vegetable brush. Dry completely with paper towels – moisture is the enemy of crispness! Using a fork, pierce each potato 8-10 times all over to allow steam to escape.
- Season generously: Massage each potato with olive oil or melted butter until fully coated. Then sprinkle liberally with salt, pressing it gently into the surface. This salt-oil combination is what creates that magnificent crust – don’t be shy with either!
- Create airflow: Place the potatoes directly on the middle oven rack – not on a baking sheet. The circulating hot air is crucial for even crisping. For easy cleanup, you can place a sheet of foil on the lower rack to catch any drips.
- Bake patiently: Medium potatoes need about 50-60 minutes; larger ones up to 75 minutes. The potato is done when a knife slides in with minimal resistance, and the skin feels slightly crisp to the touch.
- Rest briefly: Allow the potatoes to rest for 5 minutes after baking. This sets the skin and completes the interior cooking through residual heat.
Chef’s Note: Never wrap your potatoes in foil if you want crispy skin! Foil traps moisture, resulting in soft, steamed skins instead of the crackling exterior we’re aiming for. This was my grandmother’s non-negotiable rule, and she was absolutely right – I’ve tested this countless times in professional kitchens.
Pro Techniques for Potato Perfection
For an even crispier finish, try my grandmother’s 425°F trick and boost the oven to 425°F for the final 10 minutes of baking. The higher temperature creates additional browning without overcooking the interior.
If you’re serving your potatoes as a complete meal, consider preparing some quick toppings while they bake. A dollop of sour cream mixed with fresh chives, crispy bacon bits, or even a spoonful of Nonna’s 2-hour tomato sauce creates a delicious contrast to the simple potato.
For a time-saving hack I learned in restaurant kitchens, bake your potatoes halfway through (about 30 minutes), refrigerate, and finish baking later. This technique works brilliantly when preparing for dinner parties – just add 5-10 minutes to the final baking time.
Serving Suggestions
For a traditional presentation, cut a cross into the top of each potato and gently press the ends to create an opening. Fluff the interior with a fork before adding toppings. This allows steam to escape and creates more surface area for your delicious additions.
Baked potatoes make a wonderful companion to Grandma’s 30-minute chicken and noodles for a comforting dinner. For a lighter meal, consider pairing with a seasonal salad and perfectly cooked eggs.
For dessert, continue the simple comfort food theme with a rustic apple dessert that echoes the humble elegance of your main course.
Ingredient Substitution: No russet potatoes available? While they’re ideal for baking due to their high starch content, Yukon Golds can work in a pinch. They’ll have a more buttery, less fluffy interior, but still develop a nice crust. Avoid waxy potatoes like red or fingerling varieties for this method.
Remember, the beauty of a perfect baked potato lies in its apparent simplicity that conceals thoughtful technique. Just as my grandmother taught me decades ago, respect for ingredients and attention to detail transform the ordinary into something truly special. Happy baking! 💫