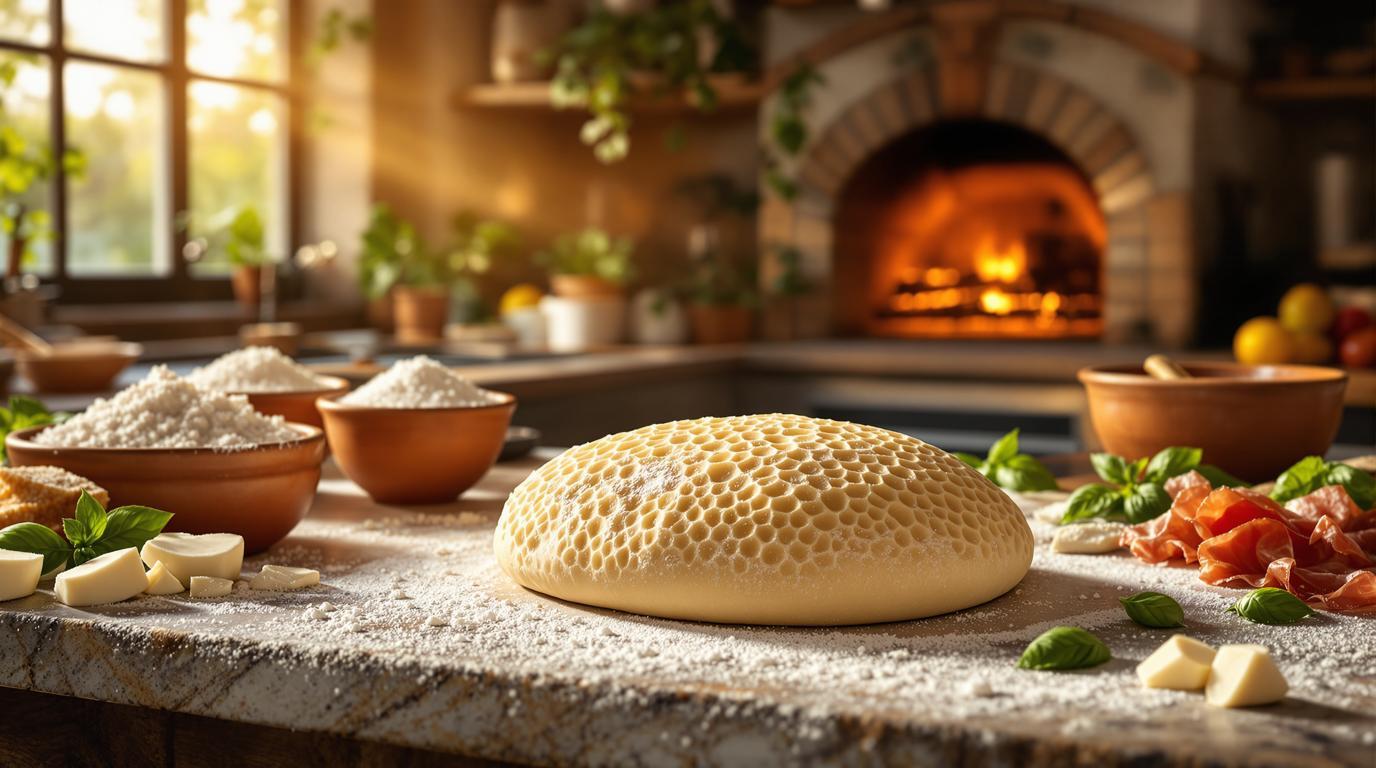
The first time I encountered authentic Pinsa Romana, I was visiting my grandmother’s cousin in Rome’s Trastevere neighborhood. Her tiny apartment kitchen opened to a terrace where a small wood-fired oven produced what looked like oval-shaped pizza but with a texture unlike anything I’d tasted before – impossibly light, crisp exterior giving way to an airy, almost cloud-like interior. “È pinsa, non pizza,” she corrected me with a smile. This ancient Roman flatbread predates pizza by centuries, and the secret lies in its distinctive flour blend and long fermentation that creates its signature honeycomb structure. 🇮🇹
The Ancient Heritage of Pinsa Romana 📖
Pinsa’s roots stretch back to ancient Rome, where a simple flatbread called panis focacius was made by farmers using whatever grains they had available. The word “pinsa” comes from Latin pinsere, meaning “to stretch and press” – exactly the technique we’ll use to shape our dough. While modern pizza evolved from Neapolitan traditions, pinsa remained a Roman specialty, preserved through generations of home cooks who valued its digestibility and versatility.
Unlike dense, chewy pizza crusts, authentic pinsa uses a precise blend of three flours that creates its distinctive texture. This combination, paired with high hydration and cold fermentation, results in a flatbread that’s deceptively light despite its substantial appearance. My grandmother used to say, “Patience makes pinsa perfect” – a reminder that great bread can’t be rushed. ⏳
The Three-Flour Magic 🧾
For 4 medium pinsas (each serving 1-2 people):
- 500g Italian “00” flour (or all-purpose flour)
- 50g rice flour
- 40g soy flour (can substitute spelt flour)
- 2.5g active dry yeast (about ¾ teaspoon)
- 460ml ice-cold water (about 2 cups)
- 10g salt (about 1¾ teaspoons)
- 5ml extra virgin olive oil (1 teaspoon), plus more for shaping
Each flour serves a distinct purpose: the “00” flour provides structure, rice flour creates crispness, and soy flour adds a subtle nuttiness while reducing gluten strength. This combination isn’t arbitrary – it’s the foundation of what makes pinsa different from other flatbreads. If you can’t find soy flour, spelt makes a wonderful substitute, though the texture will be slightly different. During lean times, my grandmother would sometimes use chickpea flour instead, which added a lovely earthy note. 🌾
The Long, Cold Fermentation 📝
- In a large bowl, whisk together the three flours until evenly combined.
- Dissolve the yeast in 400ml of the ice-cold water. The cold temperature is crucial – it slows fermentation, allowing more complex flavors to develop.
- Pour the yeast mixture into the flour blend and mix until just combined. It will look rough and shaggy – that’s perfect. Let it rest for 15 minutes to hydrate.
- Add salt, olive oil, and remaining water. Mix gently until smooth but still quite sticky. Unlike pizza dough, you don’t want to develop too much gluten strength.
- Cover the bowl and let rest at room temperature for 1 hour.
- Transfer to the refrigerator and let ferment for 24-48 hours. This cold, slow rise is non-negotiable for authentic pinsa.
Shaping and Baking Your Pinsa 🤫
After fermentation, your dough will have nearly doubled and developed a complex, almost sourdough-like aroma. Here’s where technique becomes crucial:
- Preheat your oven to its highest setting (ideally 500°F/260°C) with a pizza stone or steel inside for at least 45 minutes.
- Divide the dough into four equal pieces (about 265g each).
- Working on a well-floured surface, gently shape each piece into an oval using only your fingertips – press outward from the center, creating the characteristic dimpled surface. Never use a rolling pin or you’ll crush those precious air bubbles!
- Transfer to a floured peel or parchment paper, then drizzle with olive oil and press it into the dimples.
- Add minimal toppings – traditional pinsa should never be overloaded.
- Bake for 8-10 minutes until the edges are golden and crisp.
Chef’s Note: The perfect pinsa has a pronounced contrast between the crisp exterior and airy interior. If your first attempt isn’t as light as you’d hoped, you may have overworked the dough during shaping. Remember – gentle hands preserve those precious air pockets that make pinsa special. And don’t rush the fermentation – those 24+ hours in the refrigerator are essential for developing structure and flavor.
Classic Roman Toppings 🍽️
While you can certainly get creative, these traditional combinations honor pinsa’s Roman heritage:
- Margherita: Light tomato sauce, fresh mozzarella torn into small pieces, fresh basil added after baking
- Prosciutto e Funghi: Caramelized mushrooms, thin prosciutto strips (added after baking), fresh thyme
- Burrata & Mortadella: Bake the crust plain, then top with torn burrata, mortadella slices, and crushed pistachios
Serve your pinsa alongside a simple arugula salad dressed with lemon and olive oil, or with Nonna’s Cloud-Like Potato Gnocchi for a complete Roman feast. For a refreshing drink pairing, try Grandma’s 15-Minute Ayurvedic Tea or a glass of crisp Frascati wine. 🍷
This ancient Roman flatbread pairs beautifully with so many dishes, from Sizzling 4-Ingredient Salmon to a simple side of marinated olives. The beauty of pinsa lies in its versatility and ability to complement rather than overpower your meal.
Making pinsa connects us to centuries of Roman culinary tradition. Like my grandmother used to say as she pressed those distinctive dimples into the dough: “You’re not just making bread – you’re keeping history alive in your kitchen.” I hope this ancient Roman treasure brings as much joy to your table as it has to mine for generations. Enjoy the process, be patient with the fermentation, and soon you’ll be creating pinsa that would make any Roman grandmother proud. 💕
