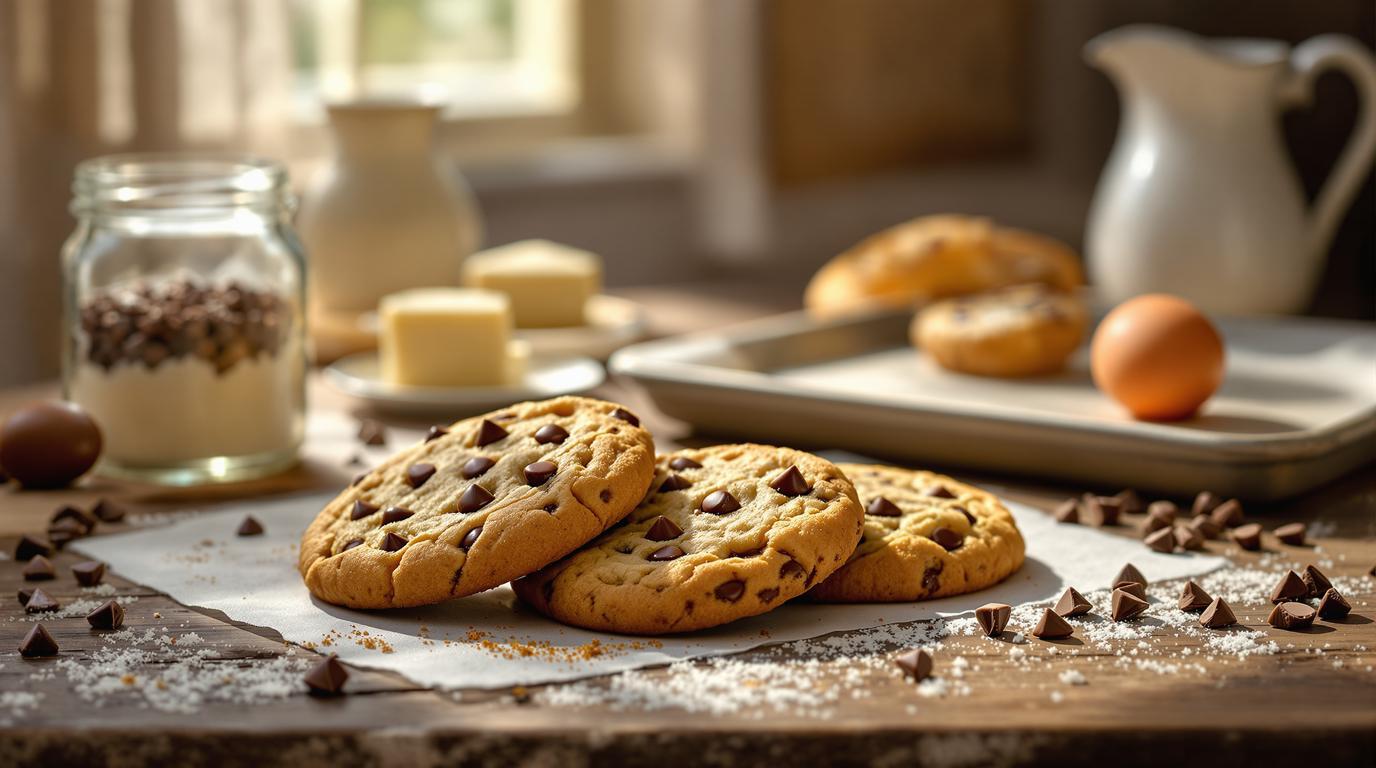
I’ve always believed that the most cherished recipes are often passed down through generations, carrying stories almost as rich as their flavor. My grandmother’s chocolate chip cookies were legendary in our family—those perfect golden discs with crisp edges and chewy centers. After culinary school, I spent months trying to recreate her magic, only to discover that her “secret” was actually the beautiful simplicity of quality ingredients and patient technique. Today, I’m sharing my perfected version of these classic French-American cookies that marry tradition with professional precision.
The Story Behind Grandmother’s Chocolate Chip Cookies 📖
While chocolate chip cookies originated in 1930s Massachusetts with Ruth Wakefield, French home bakers embraced the recipe with subtle adaptations. My grandmother always used a touch of vanilla sugar—a quintessentially French ingredient—that added dimensions beyond what vanilla extract alone could provide. These cookies represent cultural exchange at its most delicious, with each family developing their own signature version over decades of baking tradition.
I remember watching my grandmother gently tap her baking sheet on the counter midway through baking—a technique I later recognized in professional kitchens. “This makes the chocolate spread just enough for the perfect bite,” she’d explain with a wink. This small detail makes all the difference between good cookies and unforgettable ones.
Essential Ingredients 🧾
For approximately 20 cookies:
- 120g (8½ tablespoons) unsalted butter, softened
- 85g (⅓ cup + 1 tablespoon) granulated sugar
- 1 packet vanilla sugar (or 1 teaspoon vanilla extract)
- 1 large egg, room temperature
- 190g (1½ cups) all-purpose flour
- 1 teaspoon baking powder
- ½ teaspoon fine sea salt
- 120g (¾ cup) chocolate chips or chunks
Chef’s Note: The temperature of your butter is crucial—it should be soft enough to leave a slight indentation when pressed, but not melted or oily. This creates the perfect structure for your cookies.
Step-by-Step Instructions 📝
- Preheat your oven to 180°C (350°F) and line a baking sheet with parchment paper.
- In a medium bowl, cream the softened butter with both sugars until light and fluffy—about 3 minutes by hand or 2 minutes with an electric mixer. The mixture should lighten in color slightly.
- Add the egg and incorporate completely, but avoid overmixing. You’re looking for a smooth, homogeneous texture.
- In a separate bowl, whisk together the flour, baking powder, and salt.
- Gently fold the dry ingredients into the wet mixture just until no flour streaks remain. Overmixing at this stage will develop gluten and result in tough cookies.
- Fold in the chocolate chips with a rubber spatula.
- For the best flavor development, refrigerate the dough for 30 minutes.
- Form walnut-sized balls of dough and place them on your prepared baking sheet, leaving ample space between each (about 5cm/2 inches).
- Bake for 8-10 minutes, until the edges are golden but the centers still look slightly underdone.
- Allow cookies to rest on the baking sheet for 2 minutes before transferring to a cooling rack.
Chef’s Secret Techniques 🤫
The key to perfect texture lies in timing. When you see the edges turning golden but the centers still look slightly underbaked, that’s your cue to remove them from the oven. The residual heat will continue cooking them to perfection as they cool. Too many home bakers miss this crucial window and end up with dry, overdone cookies.
For a professional-looking finish, try this technique from my kitchen: about 6 minutes into baking, gently tap the baking sheet on the counter once or twice. This creates that beautiful crackled top by allowing the melting chocolate to spread elegantly through the cookie.
Looking to elevate your cookies? Try folding in 50g of crushed hazelnuts or sprinkling a few flakes of fleur de sel on top just before baking for a sophisticated sweet-savory contrast that balances the sweetness perfectly—a technique I also use in my carrot cake variations.
Serving & Presentation Tips 🍽️
While nothing beats these cookies still warm from the oven, they’ll maintain their quality for up to three days when stored in an airtight container. For an indulgent dessert, sandwich vanilla ice cream between two cooled cookies or serve alongside a rich goulash for contrast.
My favorite restaurant trick? Warm cookies slightly before serving and pair with a small glass of cold milk or, for the adults, a tawny port. The temperature and texture contrast creates an elevated experience that transforms this simple dessert into something truly memorable—similar to how thoughtful pairings enhance plant-based dishes or traditional dumplings.
Remember, baking is as much about love as it is about technique. These cookies aren’t just about following steps—they’re about creating memories around your table, just as my grandmother did for decades at hers. Your kitchen will fill with that unmistakable aroma of vanilla and chocolate that signals to everyone: comfort has arrived.