There’s something deeply comforting about a freshly fried doughnut with chocolate glaze still warm and slightly tacky to the touch. In my earliest kitchen memories, my grandmother would wake before dawn to prepare these treats, the rhythmic motion of her hands working the dough as familiar as her humming. While many assume doughnuts are an American invention, they actually trace back to Dutch olykoeks or “oil cakes” brought to New Amsterdam (now New York) in the 18th century. What makes this classic recipe special is the hint of nutmeg in the dough – a small addition that creates an intoxicating aroma as the doughnuts fry to golden perfection.
The Art of Perfect Doughnuts
The secret to exceptional doughnuts isn’t complicated ingredients or fancy equipment – it’s patience. After spending years in professional kitchens from Paris to Tokyo, I’ve come to appreciate that the humble doughnut teaches us the fundamentals of baking better than almost any other recipe.
“Dough needs time to develop flavor,” my mentor Chef Bernard once told me. “Rush the rise, rush the taste.” This recipe honors that tradition, allowing a full rise that creates that distinctive pillowy texture we all crave in a perfect doughnut – similar to what you might find in Grandma’s 3-Hour Apple Pie, where time creates depth of flavor.
The Essential Ingredients
For the doughnuts:
- 1 cup (240ml) warm milk (110°F/43°C)
- 2¼ tsp (one packet/7g) active dry yeast
- ⅓ cup (65g) granulated sugar
- 2 large eggs, room temperature
- 6 tbsp (85g) unsalted butter, melted and cooled
- 1 tsp vanilla extract
- ¼ tsp freshly grated nutmeg
- ½ tsp salt
- 4 cups (500g) all-purpose flour
- Vegetable oil for frying (about 2 quarts)
For the chocolate glaze:
- 90g high-quality dark chocolate (60-70% cocoa)
- 30g unsalted butter
- 2 tsp honey (or agave syrup)
- 2 tsp water
Creating Doughnut Magic
1. Activate the yeast: In a large bowl, combine warm milk with yeast and 1 tablespoon of the sugar. Let sit until foamy, about 5-10 minutes. If it doesn’t foam, your yeast might be dead – start over with fresh yeast.
2. Create the base: Add the remaining sugar, eggs, melted butter, vanilla, nutmeg, and salt to the yeast mixture. Whisk until well combined.
3. Form the dough: Gradually add flour, mixing until a soft dough forms. Turn onto a floured surface and knead for 5-7 minutes until smooth and elastic but still slightly tacky. The dough should pass the “windowpane test” – when stretched gently, it should become thin enough to see light through without tearing.
4. First rise: Place dough in a lightly oiled bowl, cover with a damp cloth, and let rise in a warm spot until doubled in size, about 1 hour.
5. Shape: Gently punch down dough and turn onto a floured surface. Roll to ½-inch thickness. Using a 3½-inch round cutter and a 1-inch round for centers, cut out doughnuts. Gather scraps, re-roll, and cut more doughnuts.
6. Second rise: Place cut doughnuts on parchment-lined baking sheets, cover lightly, and let rise for 30-45 minutes until puffy. They’re properly proofed when they bounce back slowly after being gently poked.
7. Fry to perfection: Heat oil to 350°F (175°C) in a heavy pot. Carefully lower 2-3 doughnuts into the oil. Fry for 1½-2 minutes per side until golden brown. Remove with a slotted spoon to a paper towel-lined rack.
Chef’s Note: The oil temperature is crucial. Too hot and doughnuts brown before cooking through; too cool and they’ll absorb excess oil. If you don’t have a thermometer, test with a doughnut hole – it should rise to the surface surrounded by bubbles and turn golden in about 2 minutes.
8. Prepare the glaze: While doughnuts cool slightly, melt chocolate and butter in a heatproof bowl over simmering water (or in 20-second microwave bursts, stirring between each). Stir in honey and water until smooth. If too thick, add a few drops of water; if too thin, add more chocolate.
9. Glaze: When doughnuts are cool enough to handle but still warm, dip the tops into the glaze, allowing excess to drip off. Place on a wire rack to set the glaze.
Serving Your Masterpiece
These doughnuts shine brightest within a few hours of making them, much like Nonna’s 3-Ingredient Burrata Magic is best enjoyed fresh. Serve alongside a strong coffee or, my personal preference, a glass of ice-cold milk. For an elegant dessert presentation, place a warm doughnut on a plate with a small scoop of vanilla ice cream and a drizzle of the remaining chocolate glaze.
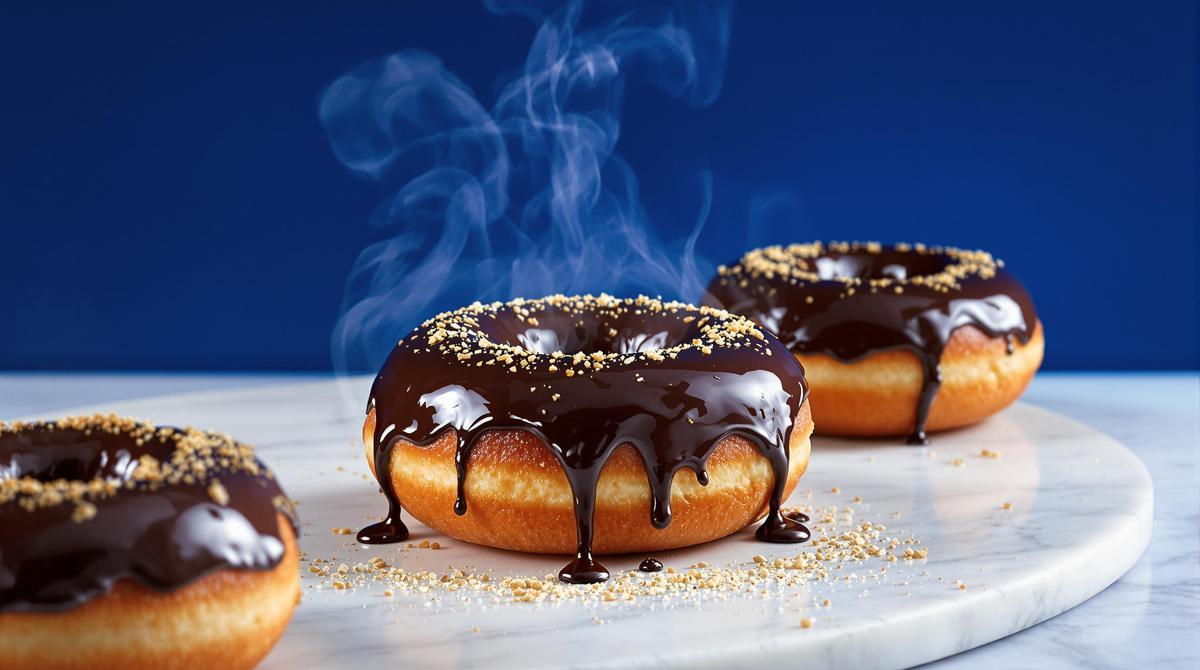
If you’re feeling adventurous, consider adding a Middle Eastern twist inspired by Grandma’s 7-Layer Pistachio Baklava – sprinkle finely chopped pistachios over the wet glaze for added texture and flavor complexity.
Preserving Tradition, Creating Memories
Like all great comfort foods, these doughnuts connect us to culinary traditions that span generations. You might recognize this sensation if you’ve ever experienced the delight of a 5-Minute Chocolate Volcano – that moment when simple ingredients transform into something magical.
These doughnuts may take more than a few minutes, but the process itself becomes a ritual – the gentle kneading, the patient waiting for the rise, the precise frying – each step an opportunity to practice presence in the kitchen. And when you finally bite into that perfect doughnut, the delicate chew of the dough giving way to the rich chocolate glaze, you’ll understand why some recipes endure through centuries.
As the French celebrate their culinary heritage through 5 Cheeses That Tell a Story, so too does a perfectly executed doughnut tell the story of bakers past and present. The technique may be classic, but the joy it brings remains eternally fresh.