As we step into the heart of winter 2025, it’s time to elevate your nail game with a stunning ombre manicure. Creating ombre nails at home is not just a trendy DIY project; it’s a fun way to express your creativity and add a touch of elegance to your look. Let’s dive into the art of crafting the perfect gradient on your fingertips, perfect for those chilly February days.
The Magic of Ombre: Why It’s Winter’s Hottest Nail Trend
Ombre nails have taken the beauty world by storm, and for good reason. Dr. Emily Curtis, a renowned dermatologist, explains, “Ombre nails are not just aesthetically pleasing; they can actually make hands appear more youthful by drawing the eye along the length of the nail.” This effect is particularly welcome during the harsh winter months when our hands often need a little extra love.
Gathering Your Ombre Arsenal: Essential Tools and Colors
Before you begin, ensure you have the following:
- Gel nail polishes in complementary shades
- Base and top coat
- UV/LED lamp
- Ombre brush or makeup sponge
- Nail cleanser and lint-free wipes
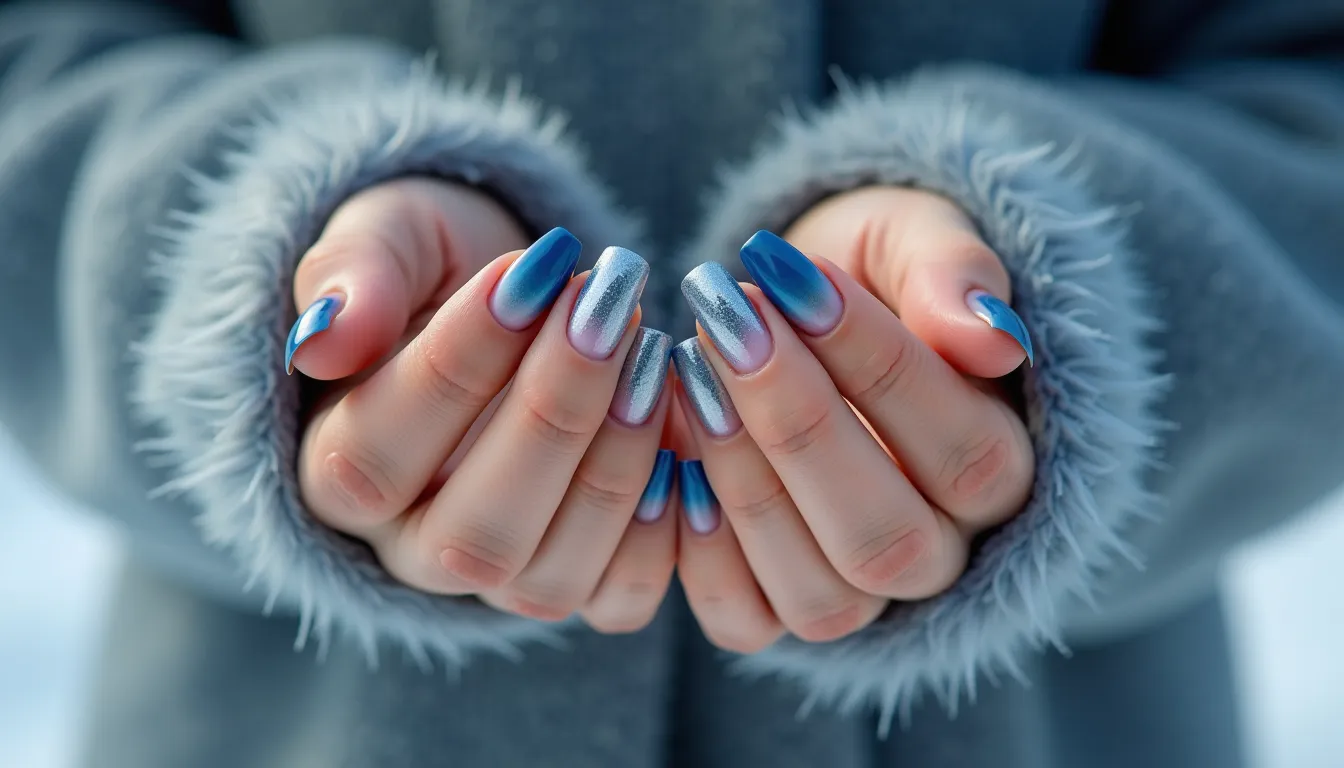
For a winter-inspired look, consider deep blues fading into icy silvers, or rich burgundies blending into soft pinks. Remember, choosing the right nail color can make your hands look years younger, so select wisely!
Prepping Your Canvas: The Key to Long-Lasting Ombre
Start by shaping your nails and gently pushing back cuticles. Apply a thin layer of base coat and cure under the UV/LED lamp. This step is crucial for protecting your natural nails and ensuring your ombre design lasts.
The Ombre Technique: Blending Like a Pro
Nail artist Sarah Lee shares her secret: “The key to perfect ombre is in the blend. Whether you’re using a brush or sponge, gentle, repetitive motions create that seamless transition between colors.” Begin with your lightest shade as a base, cure, then gradually introduce darker shades, blending as you go.
Sponge vs. Brush: Choosing Your Ombre Tool
Both methods have their merits. The sponge technique offers a softer blend, while the brush allows for more precise control. Experiment with both to find your preferred method. Remember, practice makes perfect!
Sealing the Deal: The Perfect Finish
Once you’ve achieved your desired ombre effect, seal your masterpiece with a top coat. For a twist, try a matte finish for a modern, frosted look that’s perfect for winter.
Caring for Your Ombre Nails: Longevity Tips
- Wear gloves when doing household chores
- Apply cuticle oil daily
- Avoid excessive exposure to water
- Touch up your top coat every few days
By following these tips, you can extend the life of your ombre manicure and keep your hands looking fabulous throughout the winter season. If you’re looking for more ways to care for your nails, check out how to transform brittle nails in just 3 weeks.
Beyond the Basics: Advanced Ombre Techniques
Once you’ve mastered the basic ombre, why not try incorporating glitter for a festive touch? Or experiment with different nail shapes to enhance the youthful appearance of your hands. The possibilities are endless!
Is Ombre Right for You?
Ombre nails are like a winter sunset on your fingertips – gradual, beautiful, and unique to you. They offer a sophisticated alternative to solid colors and can be adapted to suit any style or occasion. As we navigate through February’s chill, why not warm up your look with this stunning nail art technique?
Ready to give ombre nails a try? Remember, the journey to perfect nails is as rewarding as the destination. Embrace the process, and soon you’ll be sporting a professional-looking ombre manicure that’s sure to turn heads. For more inspiration, explore other winter nail trends that can make your hands look younger. Happy blending!