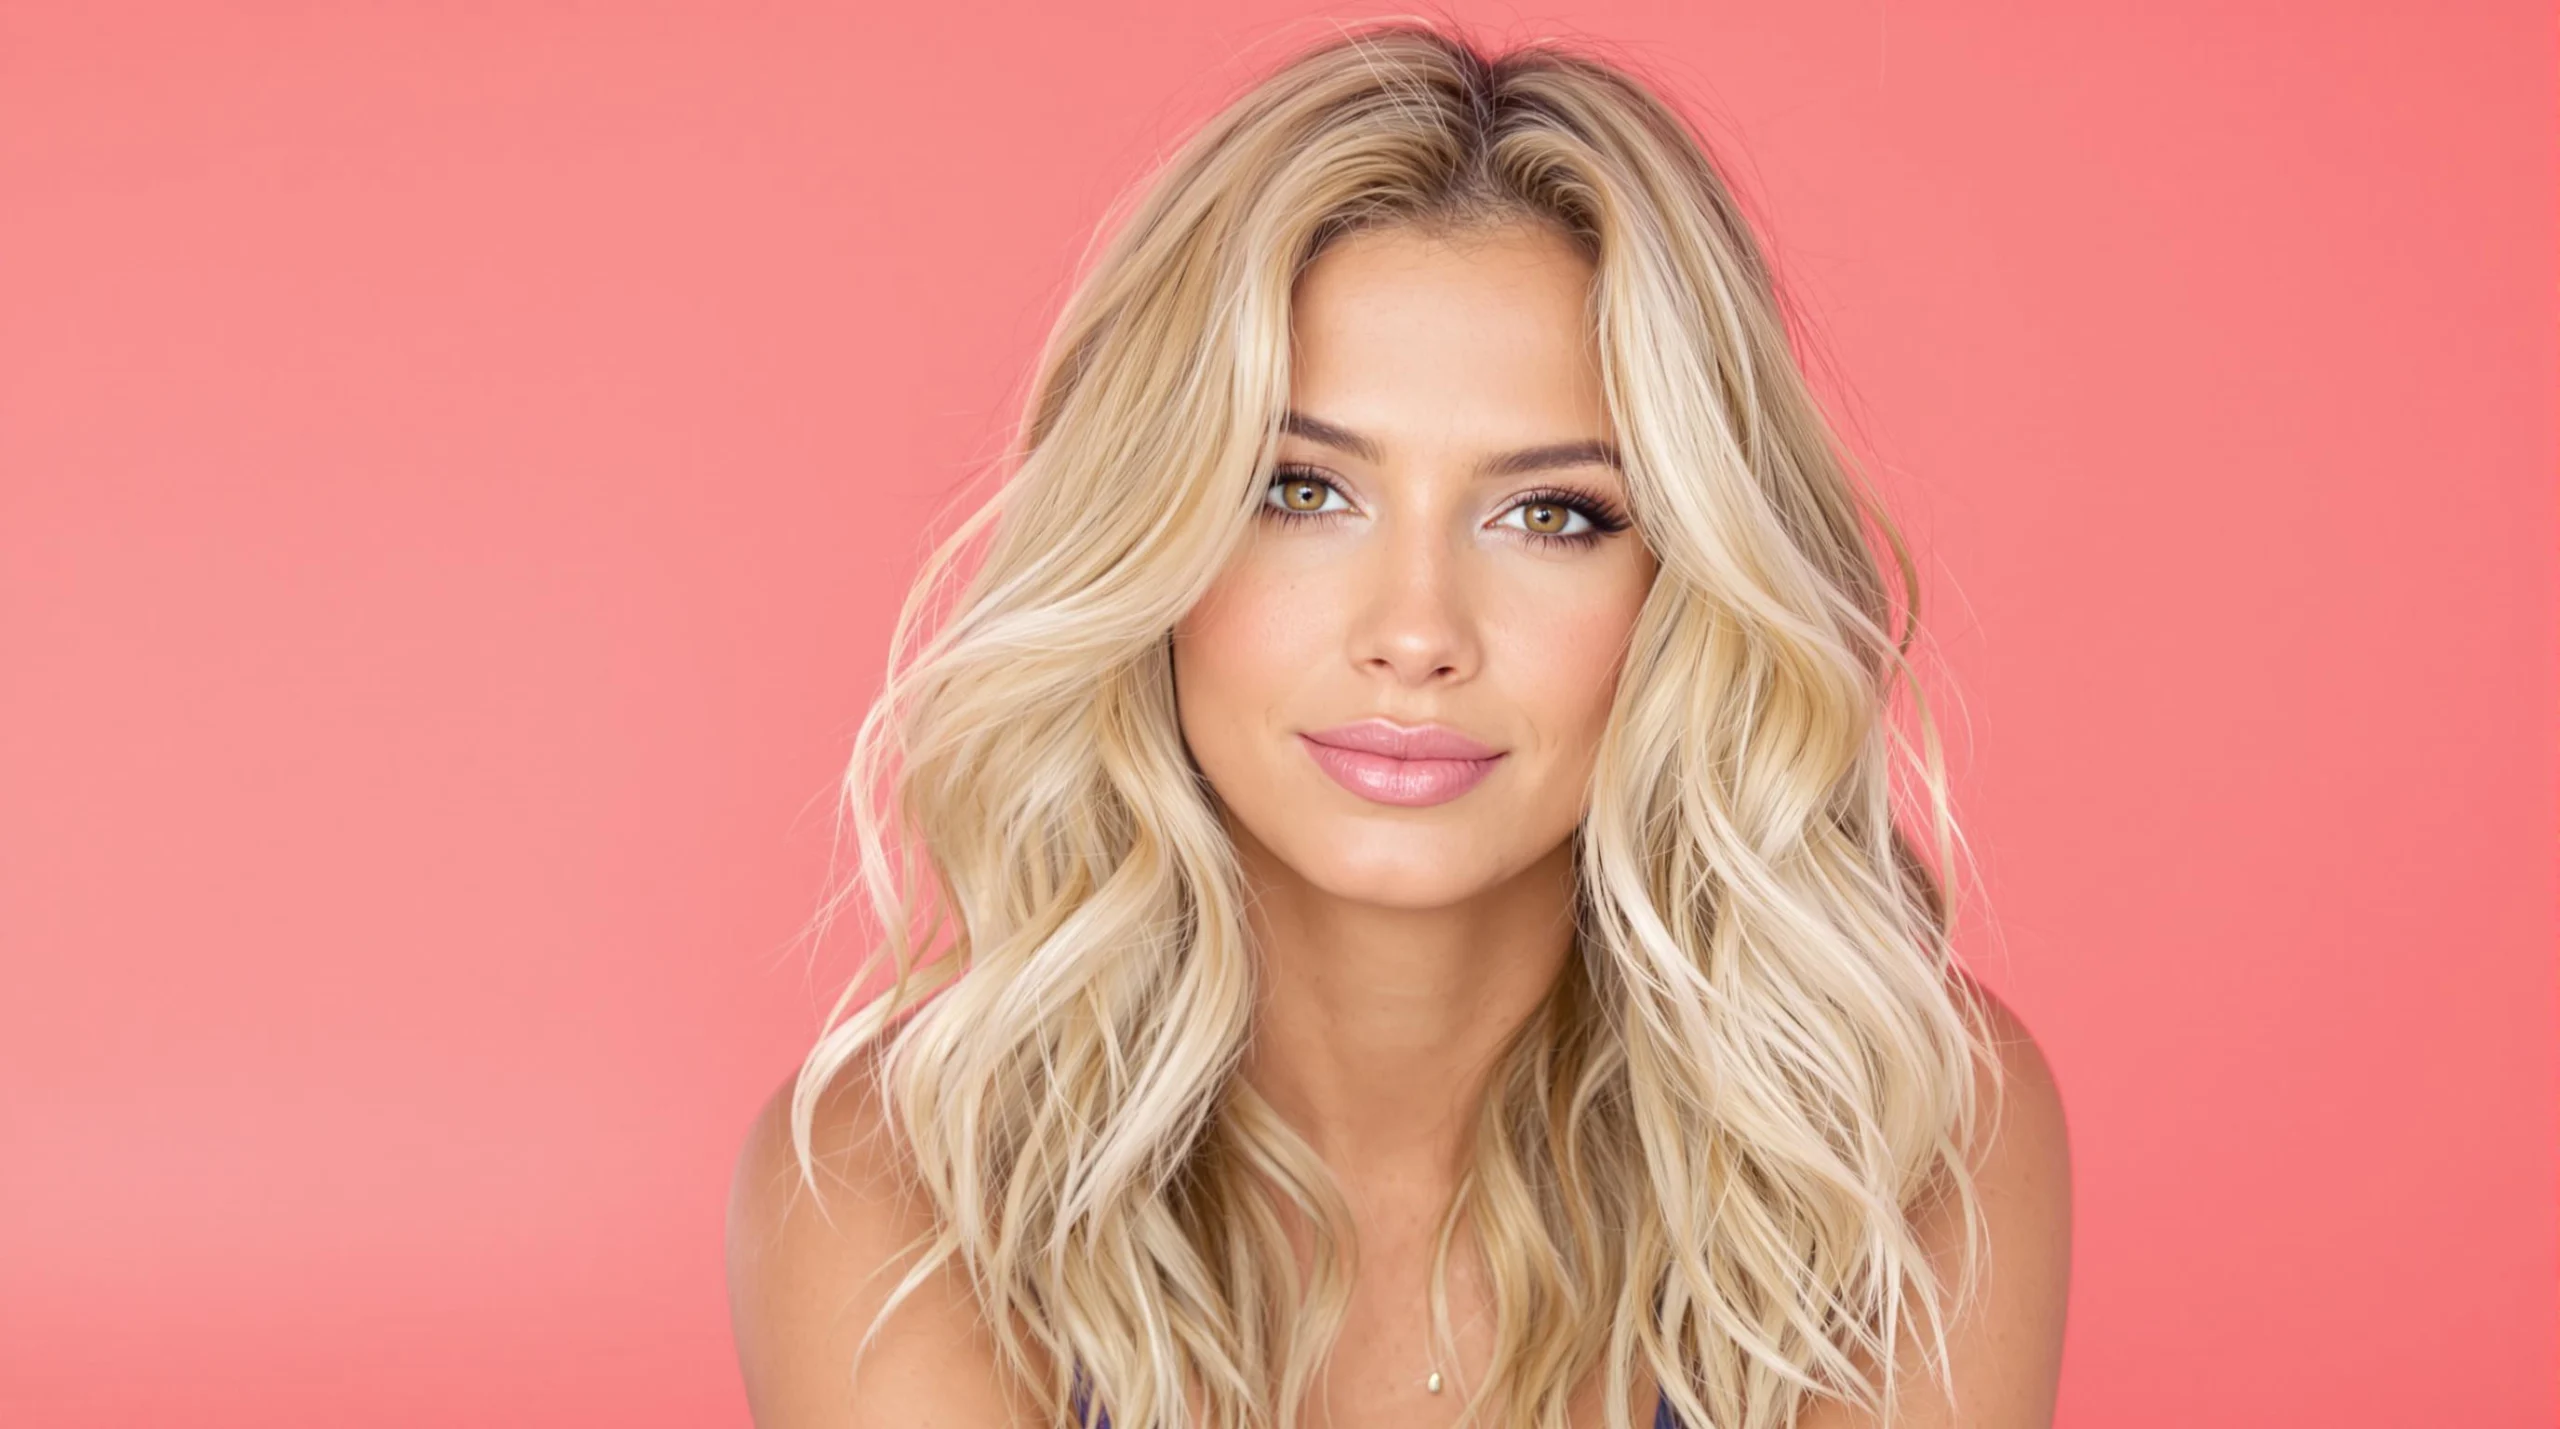
Spring is upon us, and it’s the perfect time to refresh your look with soft, effortless waves! Creating beach waves with a straightener is one of the most versatile styling techniques that works for any occasion. Whether you’re heading to a spring wedding or just want to elevate your everyday style, these lightweight waves add movement and dimension without looking overdone.
The science behind perfect waves
Before diving into technique, it’s important to understand what makes waves last. ”The key to long-lasting waves is working with your hair’s natural protein structure,” explains Maria Johansson, celebrity hairstylist at Stockholm Hair Design. ”Heat temporarily breaks the hydrogen bonds in your hair, allowing you to reshape them into waves that cool in that position.”
Essential prep steps for damage-free waves
Creating gorgeous waves starts well before you pick up your straightener. Spring’s increased humidity means your prep work is even more crucial:
- Apply a heat protectant spray generously throughout dry hair
- Section hair with clips for systematic styling
- Set your straightener to the lowest effective temperature (320°F/160°C for fine hair, up to 380°F/190°C for coarse hair)
- Brush through hair to remove any tangles
The twist and glide technique
The most beginner-friendly method involves a simple twist motion. ”Think of your straightener as creating a ribbon effect through the hair,” says Johansson. ”The slower you move, the more defined your wave will be.”
Take a 1-inch section of hair, clamp the straightener near the roots, then rotate the iron away from your face. Slowly glide the straightener down the hair shaft while maintaining the twist. The hair flows through the iron like water over smooth stones, creating natural-looking bends.
S-wave method for modern texture
For a more beachy, undone look that’s perfect for spring 2025, try the S-wave technique. This creates waves resembling the trendiest hair patterns of 2025.
”The trick is creating alternating directions with your straightener—down, up, down—forming an ’S’ pattern throughout the strand,” explains Erik Lundberg, session stylist.
Common mistakes to avoid
I once spent an entire afternoon creating gorgeous waves, only to have them fall flat within an hour. My mistake? I skipped these crucial steps:
- Touching the waves while they’re still hot (let them cool completely)
- Using too large sections (smaller sections create more definition)
- Moving the straightener too quickly (slow, deliberate movements create better waves)
- Applying too much product afterward (light-hold spray is sufficient)
Adapting the technique for different hair lengths
Shorter styles can achieve beautiful waves similar to the classic Hollywood waves making a comeback this season. The key difference is using smaller sections and focusing on creating movement around the face.
For longer hair, focus on leaving the roots and ends straighter while concentrating waves in the middle sections for a modern look. This technique pairs beautifully with waterfall braids for a youthful appearance.
Finishing your waves for all-day hold
After creating your waves, let them cool completely before running your fingers through them. Finish with a lightweight texturizing spray for added definition without stiffness. These waves can transform your appearance as dramatically as those who’ve experimented with bold hair transformations.
Can these waves work for every hair type?
Absolutely! The beauty of straightener waves is their versatility. For naturally curly hair, they can create more defined, controlled waves. For straight hair, they add movement and dimension. Many women report looking years younger with this simple styling technique, similar to this transformative hairstyle.
With just a straightener and a few minutes, you can transform your spring look with these effortless waves that blend sophistication with carefree style. Which technique will you try first?